the secret no one’s sharing
I’m embarrassed to even admit this, but here goes…
I accidentally highlighted my client’s eyebrow.
You see, where I had laid her bangs down, I didn’t realize I had placed them right over her eyebrow and there it was, staring me right in the face…
The blondest chunk, mid eyebrow.
My thoughts immediately started to race…
“Do I tell her? Do I pretend I don’t see it? Do I strategically style her hair so she doesn’t see it??”
Old-ego-driven Dawn didn’t like to fess up for her mistakes. But I knew I had to do the honest thing.
I owned up to it.
Although I wish I was a “perfect”, “flawless” human, I know that’s not the case. Mistakes happen, to everyone.
The most important thing is learning from those mistakes.
I’m very blessed to have been able to learn from the mistakes I’ve made, and now I get to share what I’ve learned with YOU. To hopefully help you avoid some of those fumbles that I made.
Like… highlighting your client’s eyebrow when you’re just trying to balayage their bangs.
Don’t stress. I’m breaking it down into a super simple process so you never have to wonder how you’re gonna style their hair so they’ll never know.
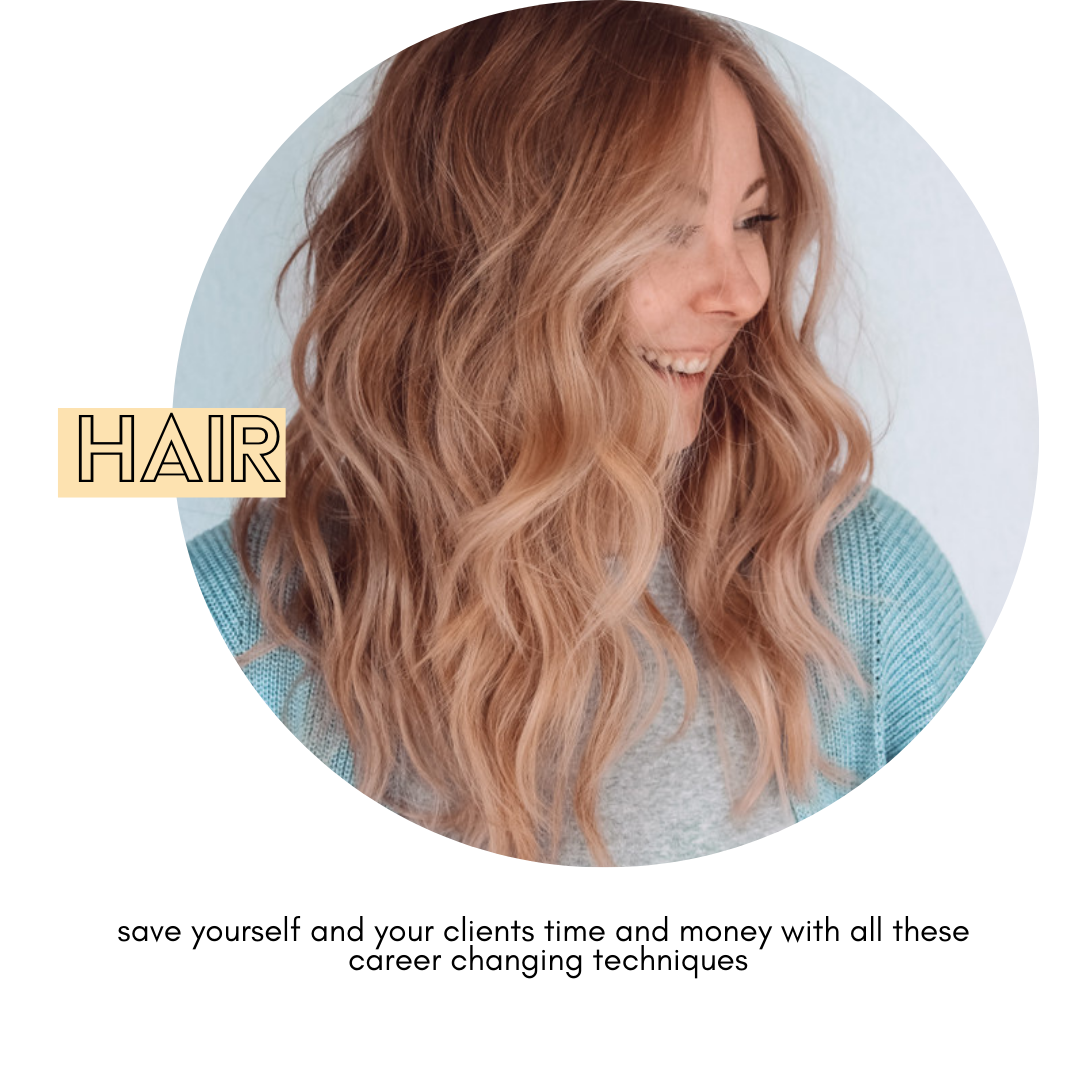
The Easiest Way to Balayage Straight Across Bangs
Step 1: Trim their bangs *before* you highlight
This not only helps you avoid dropping a big clump of bleach into someone’s eyes, but it also gives your client a more comfortable experience. Make sure the bangs are at the right length before you start applying the product.
*Pro tip: If your client is a natural brunette and wants to continue to appear as a brunette, do not highlight their bangs at all*
Step 2: Plan for the growth
Balayage is all about making long-lasting, low-maintenance looks for your clients. I always start off by asking which direction the client pushes their bangs when they start growing out.
This will allow me to paint in that direction, so that when the grow out happens and they start pushing their bangs aside, they’ll still have a beautiful, natural look.
Step 3: Apply your clay lightener using my hair painting method
You don’t need to worry about getting the lightener on the underside unless your client wears their bangs up.
Step 4: Do the scratch test
Check to see if your lightener is done by using the scratch test. I always like to start in the back where I first placed the lightener and then I’ll check on the last strands I placed.
Step 5: Rinse, tone and style
With this technique you’ll only need to use one toner and no shadow root necessary.
That’s all there is to it! 5 simple steps to creating a beautiful balayage for straight across bangs.
This is not only going to save you time and cost of product, it’s also going to give your clients longer-lasting results, which in turn, saves them money too! You know I love those win-win situations.
I wanna know, will you be trying out this technique?
Featured


Go on, binge the latest posts (you know you wanna)…