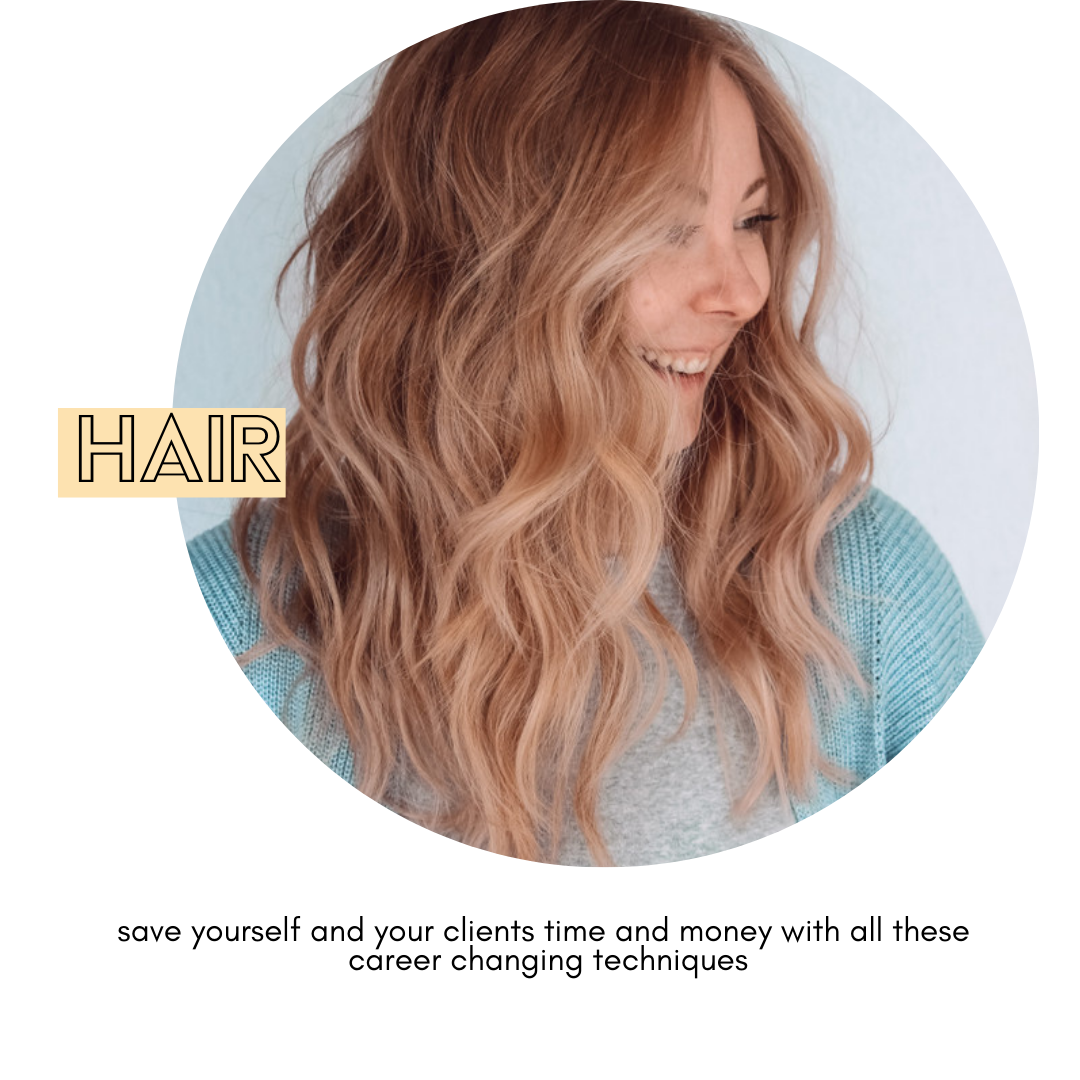
combining techniques for a beautiful result
There’s a weekend in 2014 that I’ll never forget. Still, to this day, I consider it to be one of the biggest weekends in my life…
Have I got you curious as to what happened?
Alright, I guess I gotta spill the beans then…
First, Nick and I said I love you to each other for the first time… talk about a big deal, am I right?
But not only that, I also got introduced to the second love of my life, balayage.
I had gone to Salt Lake City to learn the fancy, new technique that was coming to the industry and it changed my life. It was in that class I swore off foils forever.
And for 7 years, I didn’t touch a single foil…
Until now…
Yup, turns out you really should “never say never”.
Let me share with you…
The Easiest Foilayage Technique EVER
Step 1: Mix up your lightener and developer
I’m using Redken Flash Lift with 20 vol
Step 2: Apply lightener to triangle-inspired
Make sure your section isn’t too thick to avoid splotchy color. Then fold your foil up and anchor it.
PRO TIP: Creating sections that are not 100% vertical or horizontal will help avoid creating highlights that are either too blended or too stripey
Step 3: Continue applying lightener in 45-degree angles with triangle-inspired sections
Don’t stress too much about taking perfect sections. Hair doesn’t fall perfectly.
TIP: Leave space in between sections as we are going to open-air balayage at the end
Step 4: Make sure to apply lightener close to the root around the hairline to create a bright money piece
I place highlights back to back at the front because I want to create a lot of brightness
TIP: Apply highlights parallel to the hairline for best results
Step 5: Open-air balayage some of the ends that you left out
Instead of mixing up clay lightener, I just used the remainder of my Flash Lift.
I’m not applying to all of the ends (just every second-ish), but I do want to brighten up some of them. Using a balayage board, I’m making sure it’s really consistent all the way through, laying it gently down on the cape. Making sure it doesn’t sit, but if it touches other hair it’s okay.
Step 6: Shadow root at the sink
(If you want to learn how to balayage without shadow rooting, check out my other tutorials here)
Step 7: Flash tone at the sink
I don’t let my toner sit for 20 minutes, I tone for about 5-10 minutes and I just slather it on.
Step 8: Rinse, blow dry and style
Don’t forget to snap pics of the gorgeous hair you created!
Have you ever mixed foils and balayage together? How did it go. I’d love to hear from you if you’re going to try this technique. Tag me on Instagram @dawnbradleyhair with your pics.
What technique do you want to see next?
Featured


Go on, binge the latest posts (you know you wanna)…