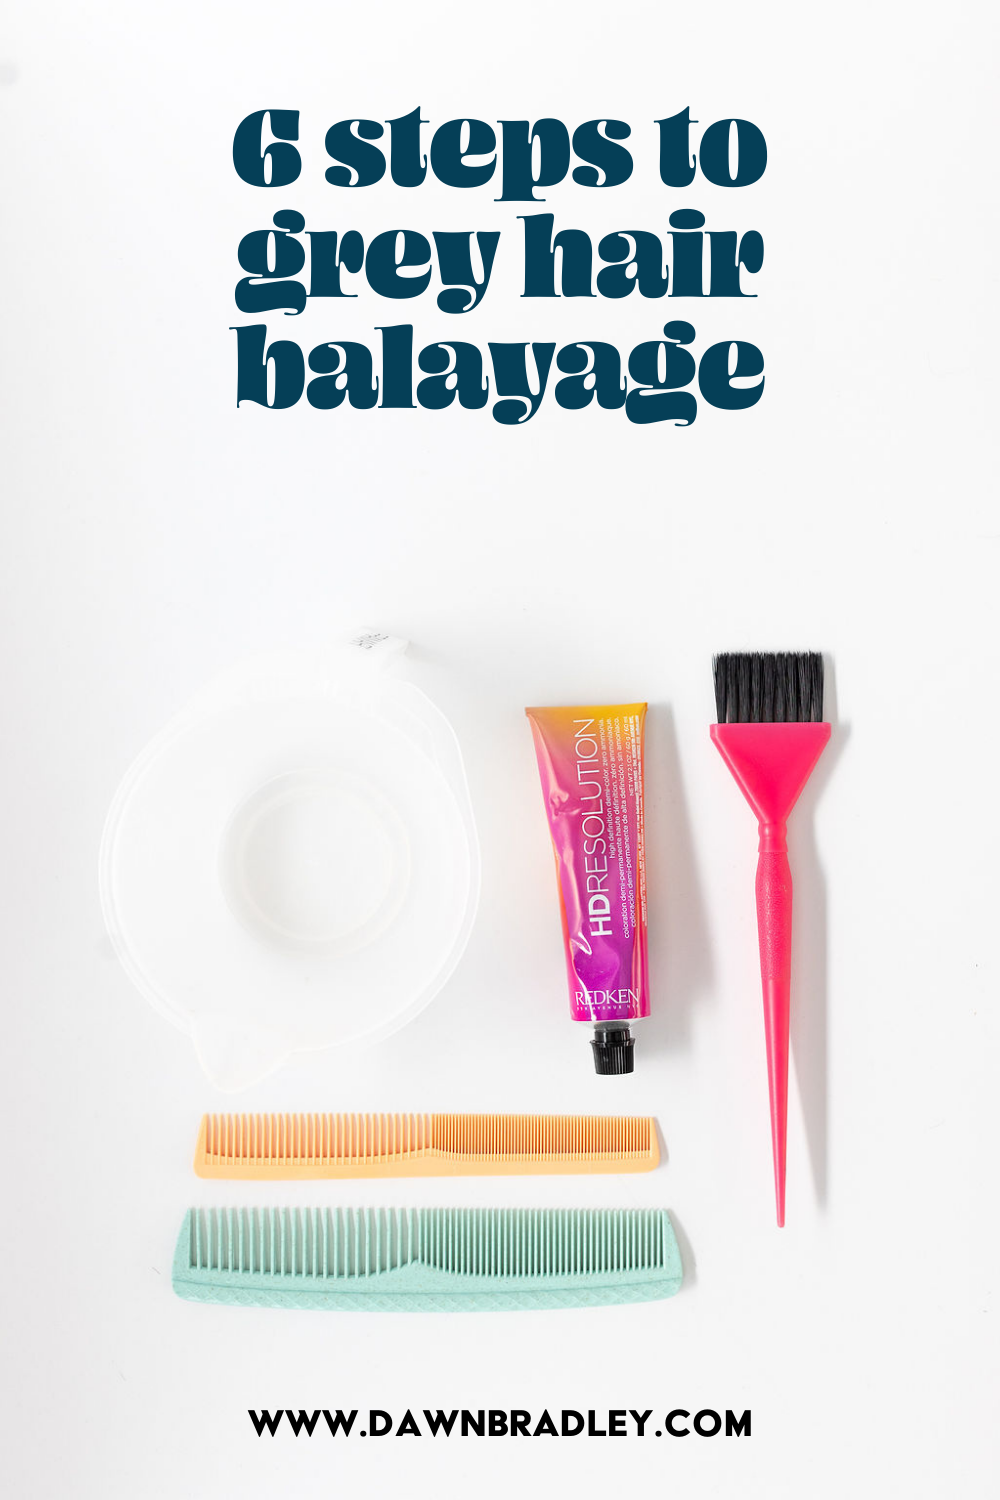
create bright, beautiful, never-guess-they-were-grey balayage
I wish I could tell ya that in my 20 years in the industry I’ve never made a single mistake…
Actually, ya know what? I’m glad I’ve made mistakes! I’m human and there’s no shame in making mistakes.
Especially when you’re able to use them as learning experiences to grow from them.
That’s why I’m so excited to be making new YouTube videos every single week and sharing them with you. Because I’ve taken all the mistakes I’ve made and the lessons that I’ve learned and I’m sharing them with you so that you don’t have to go through the same things I did.
One of those mistakes I made was with gray coverage…
I was rinsing my client out at the sink when I realized that the color didn’t take to her roots AT ALL.
And in true, “hustle” mentality, I was so booked I didn’t have a single extra minute to fix it.
The problem? I had balayaged into her root color. Talk about a facepalm moment. ♀️
Yup, honestly a little embarrassed to be putting that out into the internet. But, I’m all about honesty, and to be honest, I effed up.
Now I know you’re like “Okay Dawn, so, how do I avoid it then??”
Don’t worry, I gotchu…
The Easiest Gray Coverage Balayage Technique
Step 1: Use foils at the front to get a nice, bright “money piece”
This is the only place we’ll be using foils in this technique. Use back-to-back slices – parallel from the hairline and diagonal from the part.
Step 2: Mix up root color
I use 6NA and 9NN Redken for my client’s hair in this case. I prefer using these colors as the 6NA gives off a nice coolness in the tone with the 9nn helping it not going too dark. (Make sure to check out the video to see how beautiful her root color is!)
Step 3: Apply root color to roots using a wide brush
Section out your 4 quadrants and apply the root color accordingly
PRO TIP: By using the Big Daddy Framar Brush you’re able to cover more space in less time
Step 4: Apply root color to angled sections around the hairline
Don’t forget about the roots in between the foils.
PRO TIP: Make sure you have full coverage of product to ensure best results
Step 5: Apply clay lightener to the hair using the open-air balayage technique
Step 6: Rinse, tone, blowdry and style
There ya have it! 6 simple steps to a beautiful gray coverage balayage.
I wanna know, are you going to try out this technique? Shoot me a DM over on Instagram @dawnbradleyhair, I love hearing from you!
Featured


Go on, binge the latest posts (you know you wanna)…