learn to simplify
I know I’m not the only one who’s stayed awake late into the night stressing about work. All the things I “should” be doing. Only to end up completely burnt out and not able to even pull yourself out of bed.
You’ve been there too, right?
To be completely honest with you, I ended up there just last week. Unable to motivate myself to get out of bed and feeling the weight of the world on my shoulders.
After consulting my team, we decided it was best for me and the business to take the week off of work. Ya see, my brain always has a million ideas, at any given moment, and most of them are brilliant ideas for my business (okay, some of them maybe aren’t so brilliant).
But I forget that even if I’m not physically “working”, expending mental energy thinking about my business is still work.
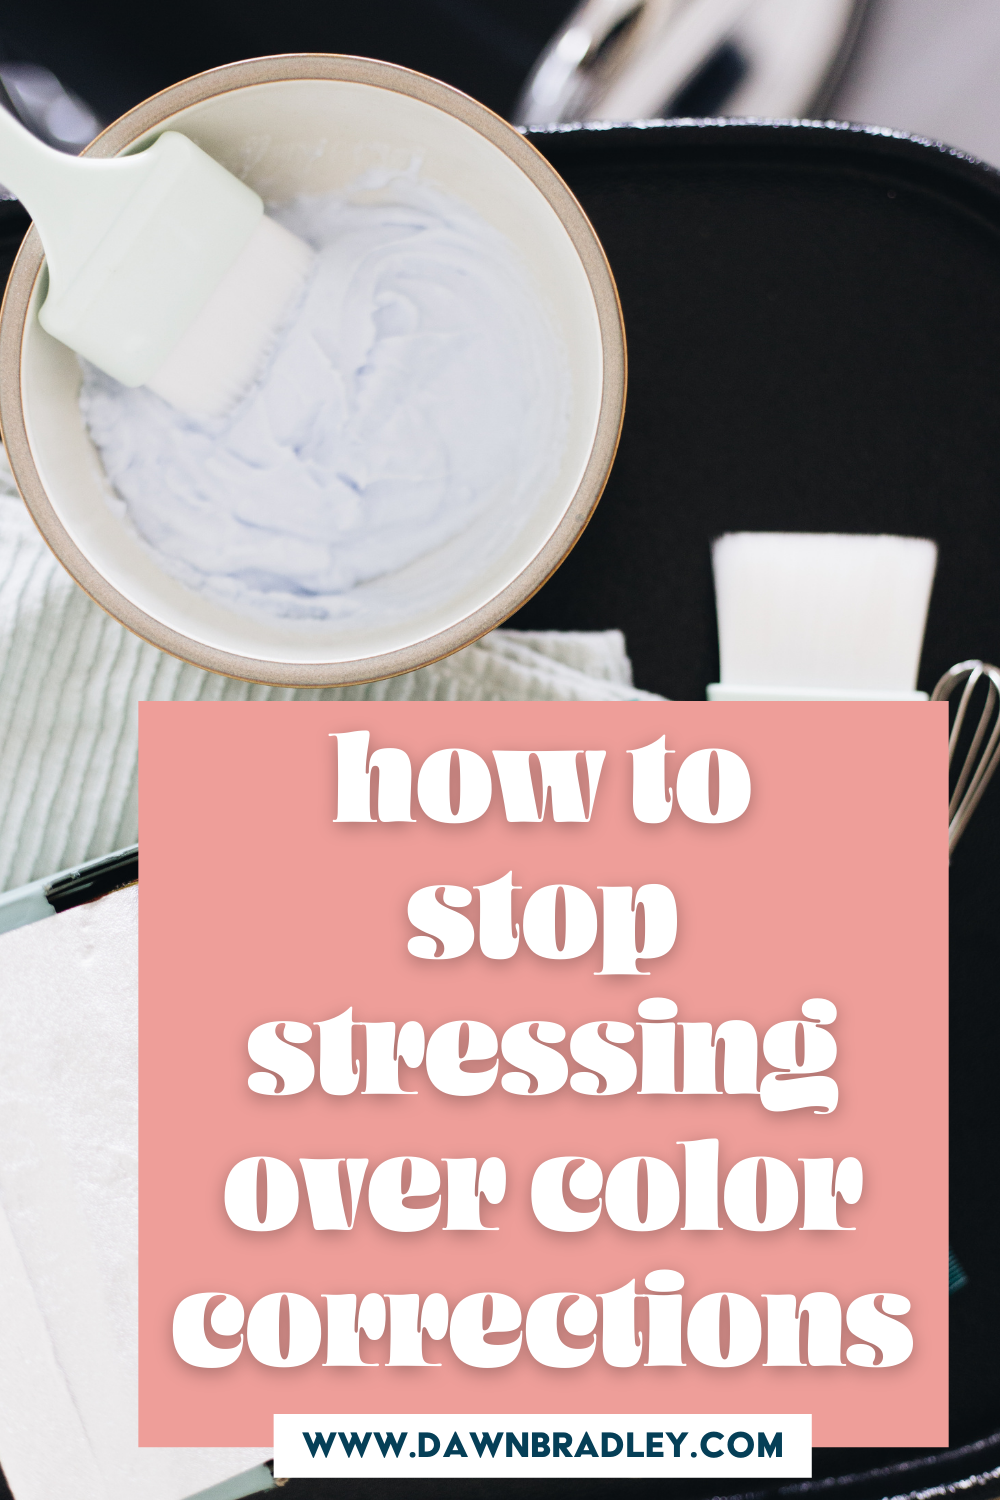
It’s like when you have a color correction booked in and you stress about it and try to formulate your plan before even seeing your client’s hair. Color corrections used to keep me up at night.
Taking the time off was exactly what I needed. It reminded me to simplify.
Just like overcomplicating a color correction. There’s a simpler way to do it, and I’m walking you through it step-by-step!
The Easiest Color Correction Technique (From Blah to Blonde)
(Make sure you watch the video for the full walkthrough)
Step 1: Mix up your clay lightener and lowlight
Struggling to get max lift with your clay lightener? Check out my video here.
For my lowlight, I’m using 6N in Redken Shades EQ (I don’t like to use anything lower than 6N as I find I can’t create the illusion of a blend as well) I’m using the lowlight to cover up the demarcation line and create more depth.
Step 2: Start at the nape of the neck and apply highlights and lowlights
Want to learn my signature hair painting application technique, check out my online program here.
PRO TIP: Because my client wants to be blonde I’m using the rule of percentages and applying more than 50% highlights
Step 3: Use the lowlight to blend out demarcation lines
For places where you’d like to drop the highlight lower than the original highlight, gently apply the lowlight to the demarcation line, blend gently with your finger and comb through with a wide-tooth comb
Step 4: Create a ‘U’ shape with the highlights as you get closer to the crown
Step 5: Create the bright money piece around the hairline
If you want to learn how to create a bright, poppin’ money piece, check out my full tutorial here.
Step 6: Rinse and tone at the sink
For LeAnne’s hair, I used 9P & 9V Redken Shades EQ (check out the video to see the results)
Step 7: Blow dry, style and snap those pics!
And that’s it! 7 simple steps to a stunning color correction. Say goodbye to 8 hour color corrections, you’re gonna be doing these in under 3 hours.
I’m curious, will you try this technique? Why don’t you shoot me a DM over on Instagram @dawnbradleyhair and show me the results! I seriously love hearing from you.
Don’t forget to take time for yourself, and allow your brain to stop telling you all the things you “should” be doing.
You deserve some rest and relaxation, friend.
