leave your clients drooling
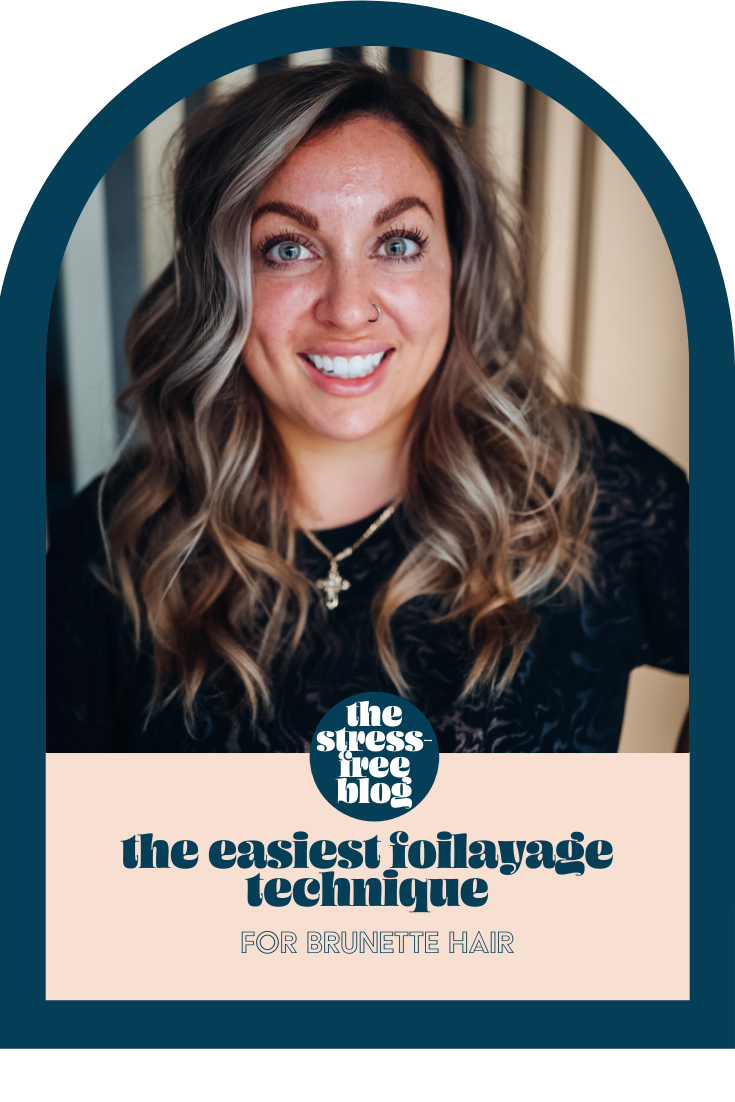
Woohoo! You’ve made it to the EASIEST balayage tutorial you are ever going to find (I mean, until I figure out a way to make it easier that is…). I’m going to be walking you through this balayage with foils technique that is going to leave your clients drooling.
I’m breaking it down into 8 simple steps for you below, if you want more in-depth instructions go ahead and watch the video above.
Brunette Balayage to WOW Your Clients
Step 1: Mix up your bleach
I’m using Blacklight by Oligo, cool-toned blonde with 20 volume developer
(Don’t forget to track the cost of your products using SalonScale)
Step 2: Starting at the front to create the POP
I’m starting at the front of the head because I want to have the most impact at the front.
Because my client has a bit of a widow’s peak I am going in at an angle and I’m placing 3 back-to-back foils
PRO-TIP: Only start at the front of the head if you know your client’s hair. I’ve had a heat reaction before and thankfully I started at the nape of the neck!
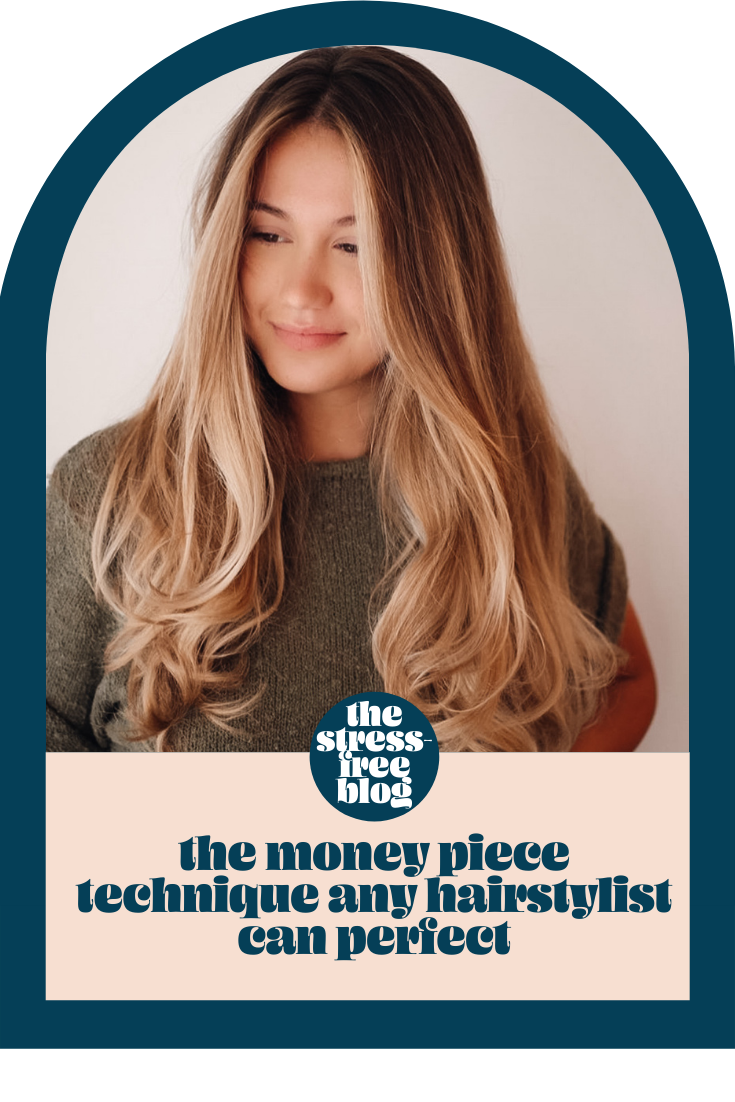
Want to learn how to create a bright and beautiful money piece? Check out my video here
Step 3: Continue around the hairline using a 45-degree angle parallel to the hairline
By creating sections that are parallel to the hairline it creates a softer look and will look amazing when the client pulls their hair up without any large stripes
PRO TIP: create parts that are parallel to the part line to maintain a good blend
Step 4: Sectioning the back of the head
At the back of the head, we aren’t taking sections that are parallel to the part line, instead, I’m taking more horizontal sections. Sectioning with the way the hair falls to create a more natural blend.
Step 5: Finish applying around the hairline
Check out how I section around the ear in the video above
Step 6: Shadow root at the sink
I’m using 3N in Shades EQ to shadow root. Although my client is not a level 3 naturally, because I’m putting it on damp hair and I’m not doing the full 20 minutes it won’t go all the way to a 3.
Step 7: Flash tone at the sink
I’m using 9V and 9P in Shades EQ to tone at the sink and blending it all the way through her ends
Step 8: Rinse, style and snap those pics
There ya have it, 8 simple steps to the most gorgeous, dimensional brunette using this balayage/foilyage technique.
If you want to see the results on my client, take a peek at the video above.
Will you try this technique? I’d love to hear from ya! Shoot me a DM over on Instagram @dawnbradleyhair


