create natural-looking results
Sometimes my backwards thinking causes me problems, but when it comes to reverse balayage backwards thinking makes it (weirdly) easier to understand.
You might know that I’ve been obsessed with balayage for the past 7 years, ever since I learned the technique from Jenny at the Paint Box in Brooklyn.
But one part of balayage that had me scratching my head was when someone came in with previously highlighted hair and wanted the balayage look. How on earth was I supposed to take someone darker?
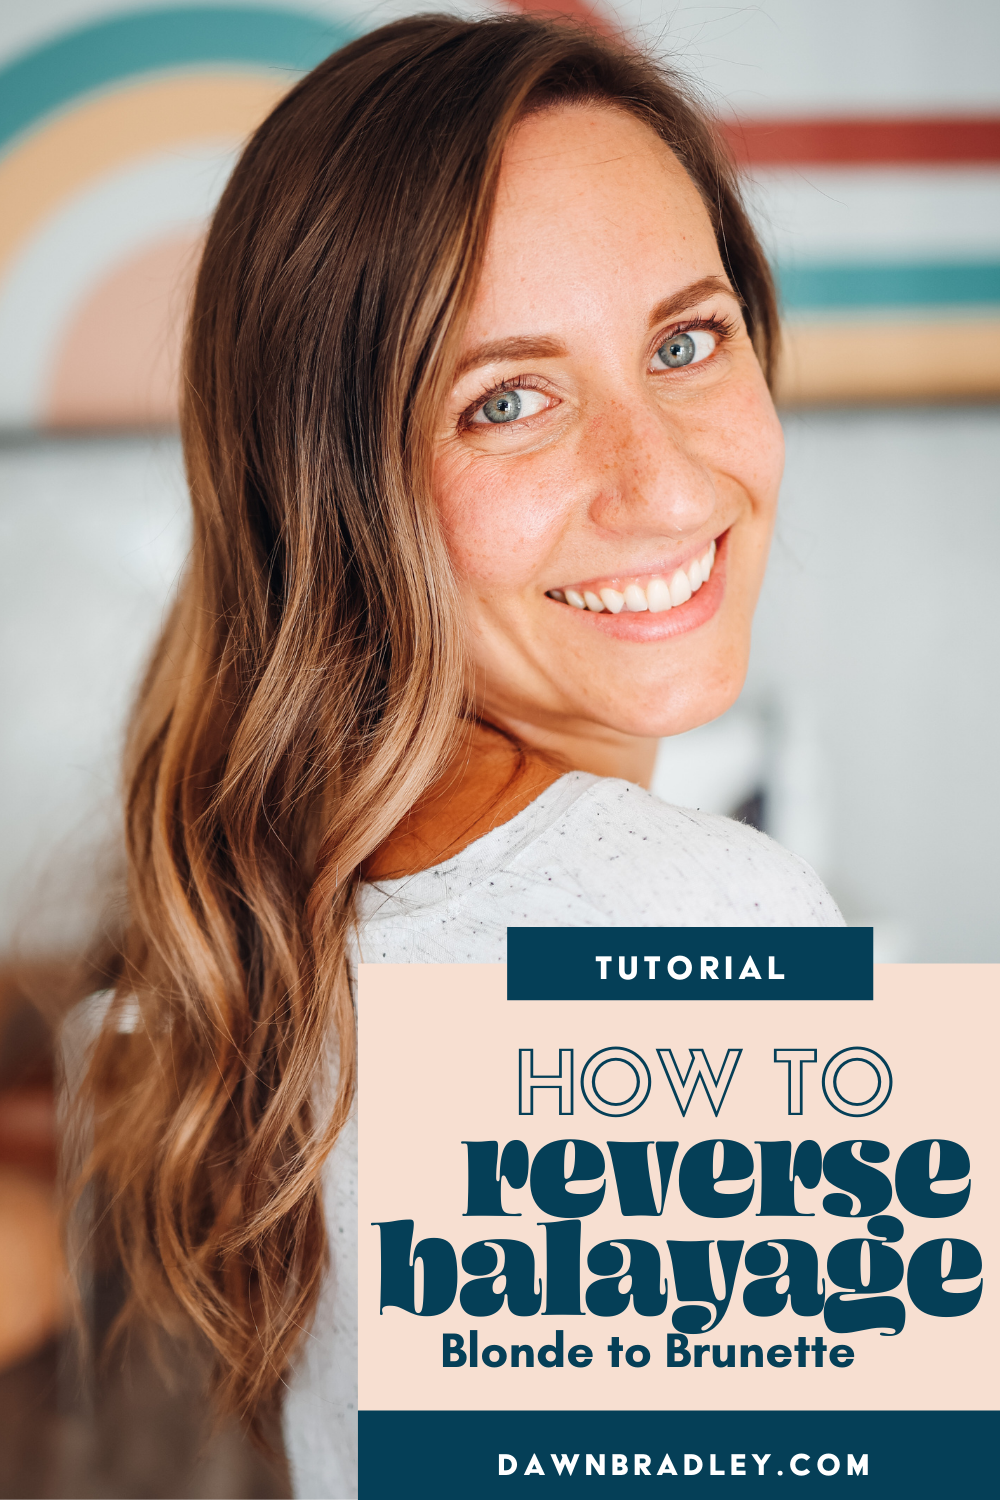
Well, I’m very excited to be bringing you this tutorial because I know how confusing reverse balayage can be and I wanted to walk you through it step-by-step.
Buckle up friend, this is gonna be a good one.
The Highs and Lows of Reverse Balayage
(check out the video above for a more in-depth walkthrough)
Step 1: Mix up your product
I’m using a combination of lowlights and highlights for my client in this tutorial. I’m using Shades EQ in 4NB for my lowlight shade and I’m mixing up my clay lightener with 40 vol for the highlights.
Step 2: Starting at the nape of the neck applying highlights and lowlights
The end result is going to be darker than what my client started with, but I also know I want to bring up some of the highlights for dimension (although I will be toning it down at the end).
RULE OF THUMB: If the hair is long enough to fall over the shoulders, make sure the ends are a little lighter. This will mimic naturally sun-lightened hair and also creates an illusion of longer hair.
Step 3: Apply lowlights
The lowlights will not only help with creating depth but they will also cover up some of the previous highlights.
Remember to use the wide-tooth side of your comb to distribute the product evenly on the hair.
PRO TIP: I prefer to use Shades EQ because of their consistency. They are more liquified and blend on the strand better without “skid marks” after application.
Step 4: Continue applying highlights and lowlights around the hairline
PRO TIP: Keep your highlights lower than you would for a typical balayage session. In this instance, we’re using highlights to create a blend and keep the ends lighter.
Step 5: Tone at the sink
I’m using 8V and 7V to tone as ashy tones help create depth and dimension.
Step 6: Blow dry, style and snap those pics
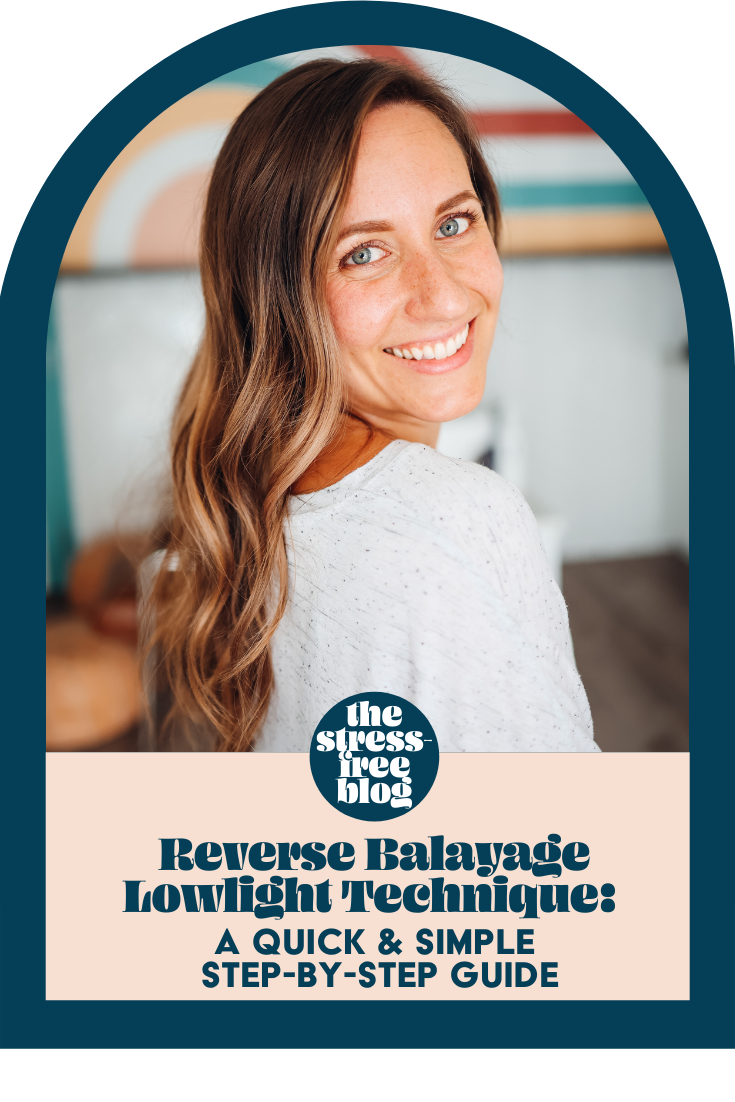
I am absolutely obsessed with how this one turned out! The end results are a more natural, sun-kissed look. Where you can tell it’s highlighted, but you also don’t know if it’s really highlighted.
I love hearing from you and I wanna know if you’re gonna try this technique! Why don’t you shoot me a text and let me know?
Featured


Let’s Be besties?